
Hello again! It’s been quite a few days since I posted anything. I don’t have a set up date to update this blog with new posts… It takes me some time to come up with patterns and actually make them haha
When I made this Pokemon pouch I didn’t write down the pattern as I usually just crochet as I go, but it’s very easy. Many people have asked about it so I’ll give it a go. It’s worked in the round (only one piece, no sewing), single crochet with a couple colour changes and the little button on the side.
Let’s begin!
Yarn: Any 100% cotton yarn will work. It’s very durable and it doesn’t get fuzzy so easily. I bought it here a while back, I’m not sure if they still have it in stock but that store has really good deals.
Hook size: 5.00mm – H
- Row 1: With the white yarn start by chaining (24). * I have a 3DS XL. For other sizes adjust the starting chain accordingly. I make it just as long as the DS. For other types of yarn, the chain might have to be a couple stitches shorter than the device. Cotton is not at stretchy as other yarns and you will want the pouch to fit snugly.
- Row 2: 1SC in second chain from hook BACK LOOP ONLY. SC to the end of the chain.
- Row 3: Do not turn it, we are working in the round. Just keep going. [2SC in what is now the back of the chain, 1SC in each stitch to the end adding one more SC to the last stitch].
- Row 4: [Repeat rows 2 and 3.]
- Row 5 – 8: [ SC around].
- Row 9 – 11: Start Row 9 by changing colour to black and [SC around].
- Row 12 – 19: Start Row 12 by changing colour to red and [SC around].
- Row 20: By now, you’ll be able to fit the Nintendo inside the pouch to see where you want the top flap. To make it, do not work in the round, turn at the end of each row. I like to make the flap as wide as the DS. [SC until you reach the other end of the Nintendo, CH 1 turn and SC to the end]. Keep going until you are one row away from your top flap reaching the end of the red part on the front of the pouch. On the last row, find the middle part and add a stitch marker. Sew the button in the center of the black part of the pouch, using the stitch marker as a reference. I used a white piece of yarn to sew the button.
- Last row: SC until almost the middle part of the row, measuring your button, chain as many stitches as you need. My chain is 11 stitches long and I skipped 6 Sc from the previous round. SC to the end and fasten off.
Button: [Make a Magic ring, 6 SC into MR, DC around. Change colour to black and SC around twice.] Here you can really make the button any size you want. I didn’t want it too small, but it’s your choice.
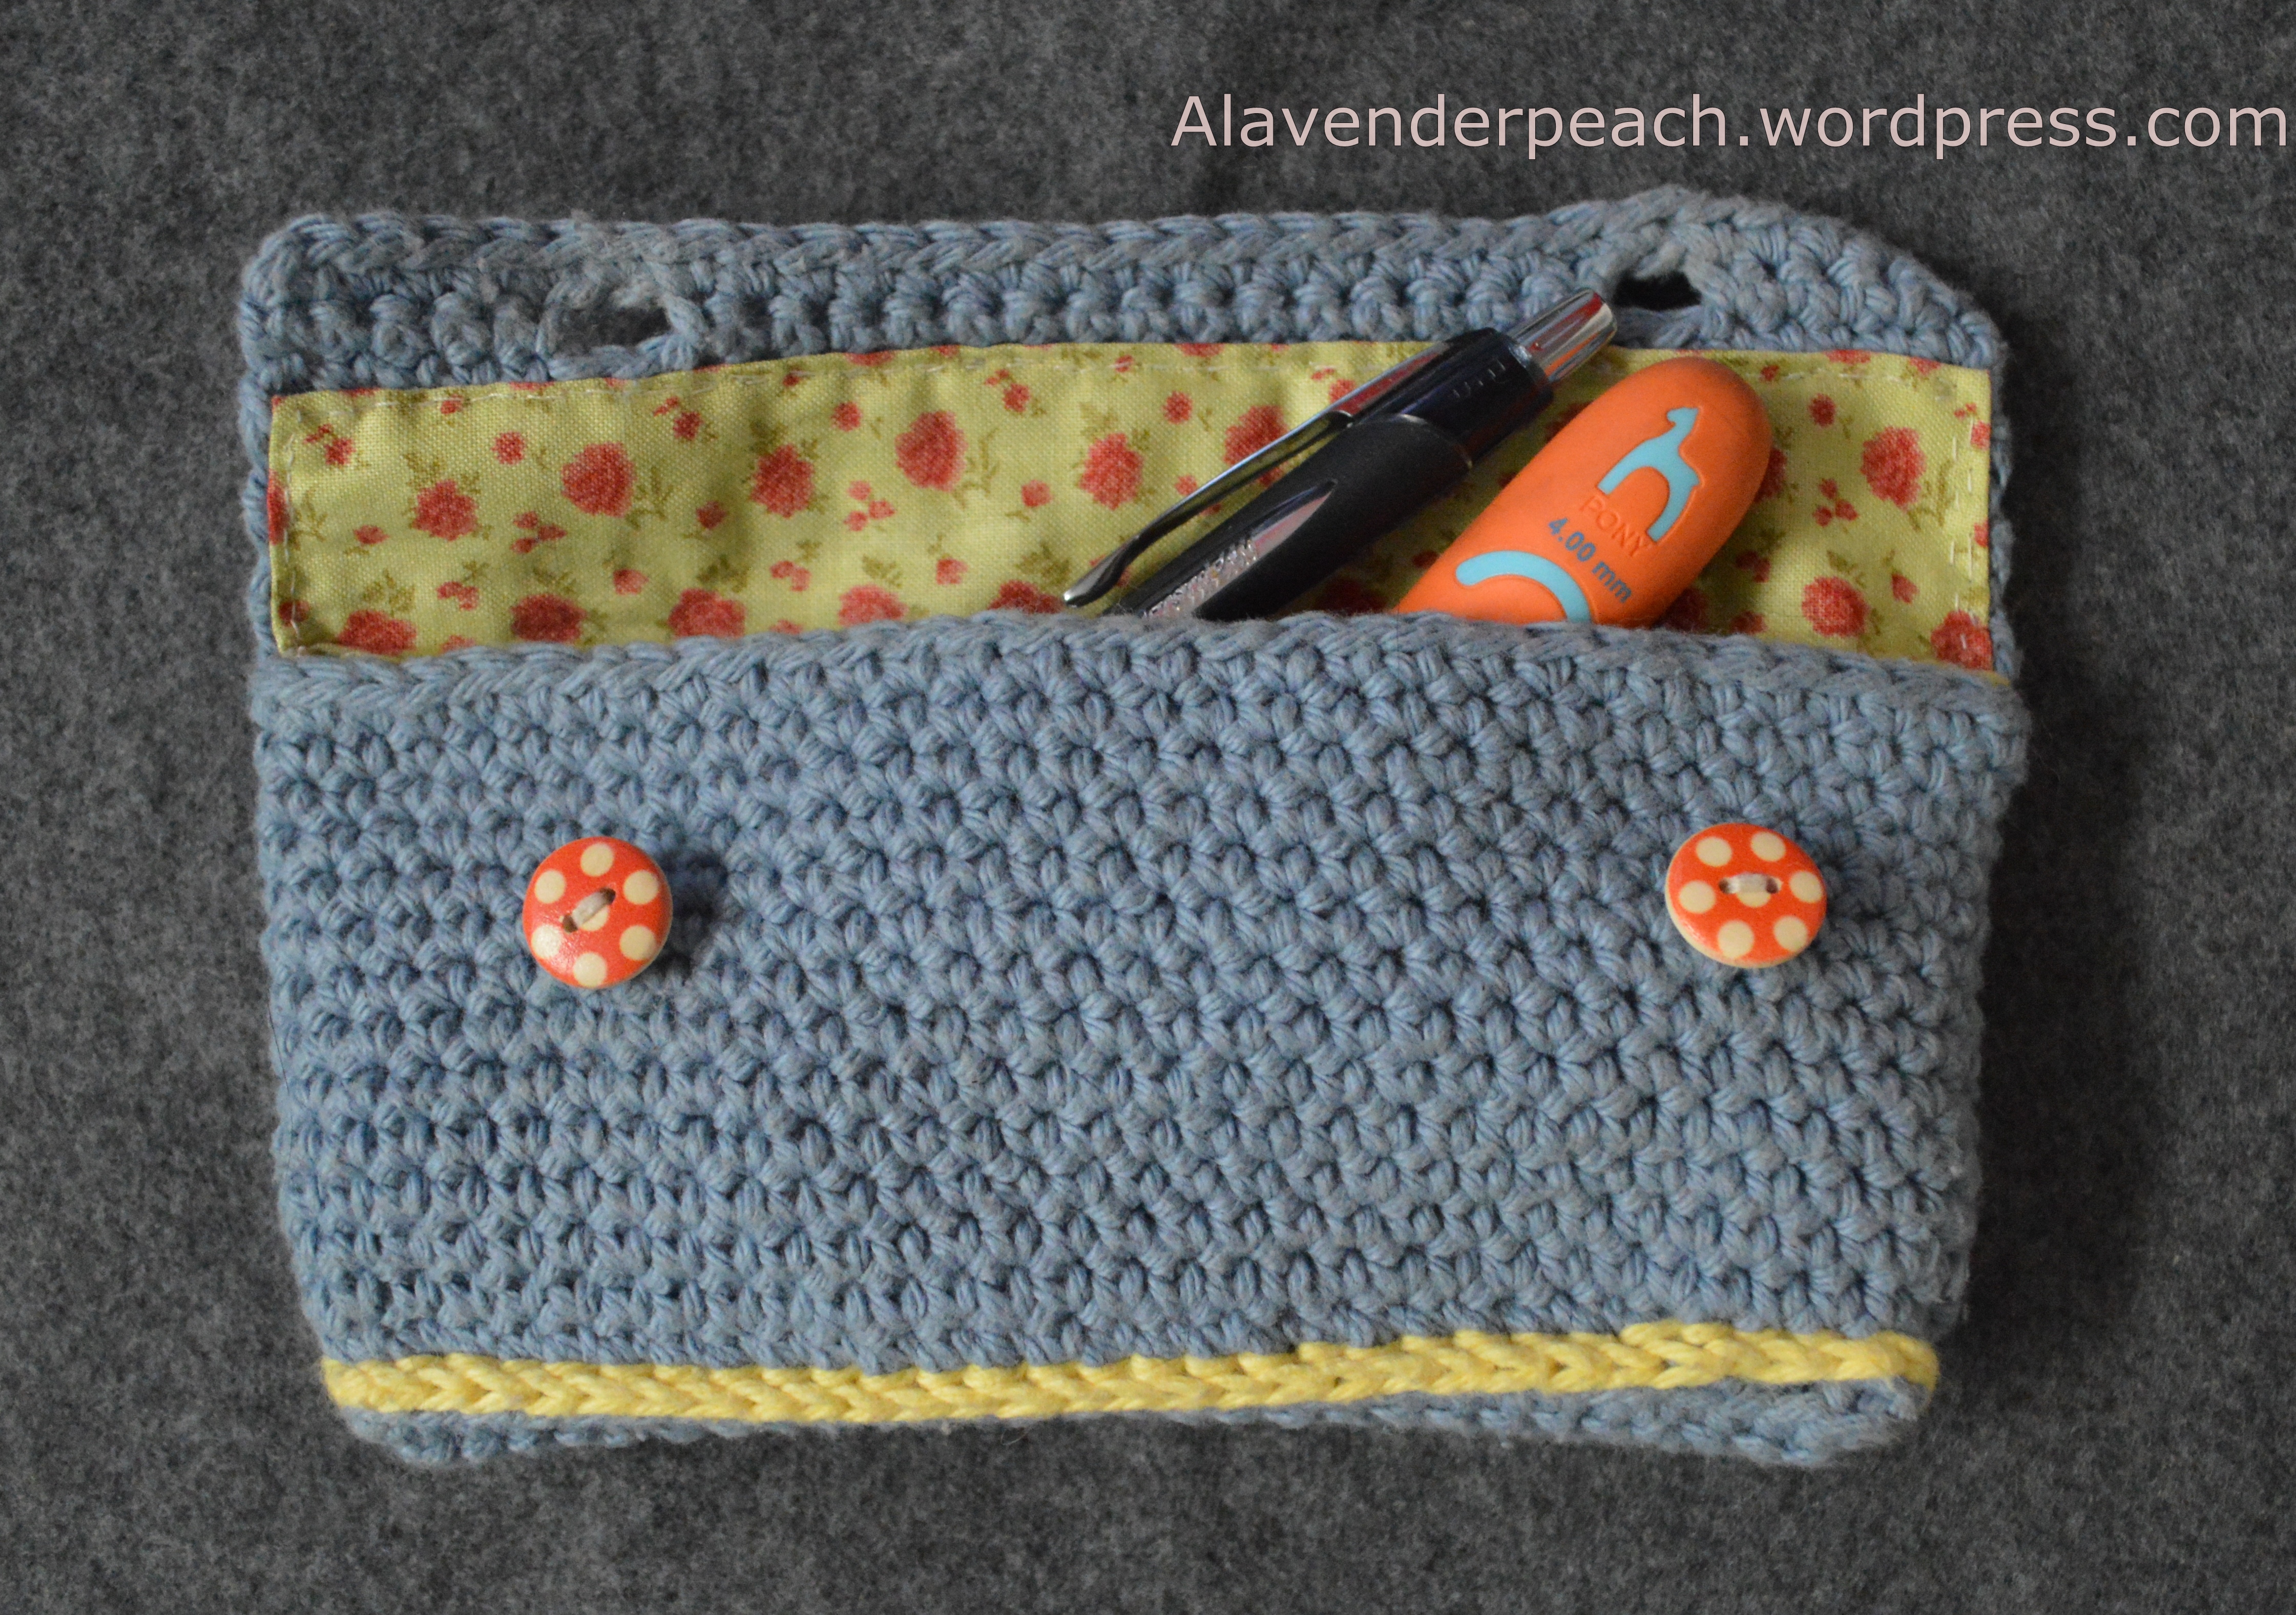
My pouch is 8 rows white, 3 rows black, 8 rows red. Make sure to measure the pouch with your Nintendo as you go to make sure that everything fits good. Please, use the pictures as reference. I don’t usually write down my patterns and it can be confusing, if anyone has any questions or there’s any errors, please, let me know. This is a very versatile pattern, you can make many different pouches with it. Adding zippers, lining them, using different yarns… Anything goes. I added a couple pictures of my pouches, I hope you like them!


Aww now I want one, seriously!
LikeLiked by 1 person
That’s a great idea! Looks like I will have to make one x
LikeLiked by 1 person